The Royal Family (...of heirloom seeds!)

The Royal Family (...of heirloom seeds!)

Prince George of Cambridge has been big news this past year, and so have our seeds in this royal collection! Just in time for the royal wedding anniversary, we've compiled a list of our most royally-named heirloom, organic, and open-pollinated varieties. Every seed we preserve is special in its own right, but these are sure to make your garden fit for a king or queen.

Read More

Lucina's Miniature Stuffed Peppers

jlb_LucinaCressPickledPeppers_Diane-14.jpg

Miniature Bell Peppers

SSE member Lucina Cress once told Diane Ott Whealy, "An elderly lady grew these peppers in Ohio and passed them on to me. The chocolate is still my favorite, always so mild and sweet and all the plants would produce early and kept coming on till frost." Lucina had been making the stuffed peppers for more than a decade. "I think I first listed the pepper seed in the 1981 Seed Savers Exchange [Yearbook]. I always offered to send the recipe for stuffing and canning with the pepper seed. Each year our branch of the hospital auxiliary stuffed miniature peppers for the hospital bazaar. We canned over seven hundred jars some years and we were sold out by 11 a.m."

Lucina's recipe for her Miniature Stuffed Peppers:

Pickled Mini Bell Peppers

Shred cabbage fine (SSE staff recommend the 'Early Jersey Wakefield cabbage'). For each 3 quarts of cabbage, add 2 1/2 teaspoons salt and let stand for 20 minutes.

While the cabbage is soaking, wash enough of Lucina's Miniature Bell peppers of all colors to make 15 pints. Cut a small opening on top and take out the seeds. (I always save the seeds to offer in the Yearbook and hope everyone else does too!)

Squeeze the liquid off cabbage and discard.

Add to cabbage:

  • 1 1/2 teaspoons celery seed
  • 1 1/2 teaspoons mustard seed
  • 2/3 cup vinegar
  • 2/3 cup sugar

Mix cabbage and stuff inside the peppers. Place in jars. Boil together:

  • 4 cups sugar
  • 4 cups white vinegar
  • 2 cups water

Pour over peppers in jars and seal. Process in hot water bath for 15 minutes.

Order seeds for Miniature Chocolate, Miniature Red, and Miniature Yellow Bell Peppers in our online store!

Taken from SSE co-founder Diane Ott Whealy's new book, Gathering: Memoir of a Seed Saver.

Our mission is to conserve and promote America’s culturally diverse but endangered food crop heritage for future generations by collecting, growing, and sharing heirloom seeds and plants. www.seedsavers.org

SSE Collection Pepper 1191: 'Hinkelhatz'

Hinkelhatz-in-a-bowl.jpg

Hinkelhatz in a bowl The ‘Hinkelhatz’ pepper was first noted as an ingredient for pepper sauces in the 1848 Pennsylvania Dutch cookbook, Die Geschickte Hausfrau. Seed Savers Exchange member, William Woys Weaver, translated and republished the book under the title Sauerkraut Yankee in 1983. According to Weaver, the pepper was rarely eaten raw by the Pennsylvania Dutch, instead it was favored for colorful pickles and flavorful sauces.

Weaver inherited the seeds for ‘Hinkelhatz’ as a part of his late grandfather’s seed collection. According to his grandmother, the peppers first arrived in her kitchen around 1935. Because they were too spicy for her, she made them into a sauce for the boys – unknowingly continuing the tradition of making hot sauce with the pepper.

The ‘Hinkelhatz’ pepper has been cultivated since at least the 1880s by the Pennsylvania Dutch. These settlers were a unique group of immigrants from southwestern Germany and Switzerland who established themselves in Pennsylvania during the 17th and 18th centuries. The Pennsylvania Dutch still have strong cultural ties to the original settlements throughout Pennsylvania and adjacent communities, with a rich food heritage that still includes the ‘Hinkelhatz’ pepper.

HINKELHATZ CROCK PICKLE - reprinted with permission from William Woys Weaver's book, Sauerkraut Yankee

This traditional Pennsylvania Dutch pickle must have enough Hinkelhatz pepper in it to give it a spicy flavor. Vinegar often modifies the heat of hot peppers, so if in doubt, put whole seeded pods in the pickle and taste it often for the first day or two.  If it seems to be getting too hot, remove the pods. If it is not hot enough, add more.

Yield: Approximately 2 quarts (2 liters)

1 large bunch fresh dill, preferably with flower heads (at least 4 to 5 large flower heads) 12 cloves of garlic cut in half lengthwise 1 tablespoon mustard seed 10 fresh bay leaves 4 tablespoons coriander seeds 2 teaspoons black peppercorns 1 tablespoon allspice 1 to 2 tablespoons chopped Hinkelhatz peppers, or whole seeded pods to taste 8 ounces (250g) cauliflower broken into small florets 8 ounces (250g) sliced green tomato 8 ounces (250g) sliced baby cucumbers 8 ounces (250g) carrot, pared and cut diagonally into paper thin slices 8 ounces (250g) sweet peppers seeded and cut into irregular pieces (green or red, preferably red) 1 ½ quarts (1 ½ liters) spring water 2 cups (500ml) white wine vinegar or 1 cup garlic flavored vinegar plus 1 cup coriander flavored vinegar 1/3 cup (90g) pickling salt

Place half the dill in the bottom of a non-reactive crock or large sanitized glass jar.  Combine all the ingredients in a deep work bowl, and when thoroughly mixed, pour into a crock or glass preserve jar. Heat the spring water, vinegar, and salt in a non-reactive preserving pan and bring to a full boil for 3 minutes.  Pour this over the vegetables, place the remaining dill on top and cover.  Once cool, set aside in a refrigerator or cool pantry to marinate 3 weeks before using.  Check the pickle from time to time to adjust the heat of the peppers. Add more ripe peppers if it does not seem hot enough.

Today, the ‘Hinkelhatz’ pepper is available in the Seed Savers catalog, having gained attention for its flavor, compact habit, and prolific production. Slow Food USA features this pepper in its ‘Ark of Taste’ because of its importance as a part of America’s food heritage, and Weaver discusses it in his book, Heirloom Vegetable Gardening. Help preserve a unique heirloom variety and grow some ‘Hinkelhatz!'

Where to start: How about peppers? How about today?

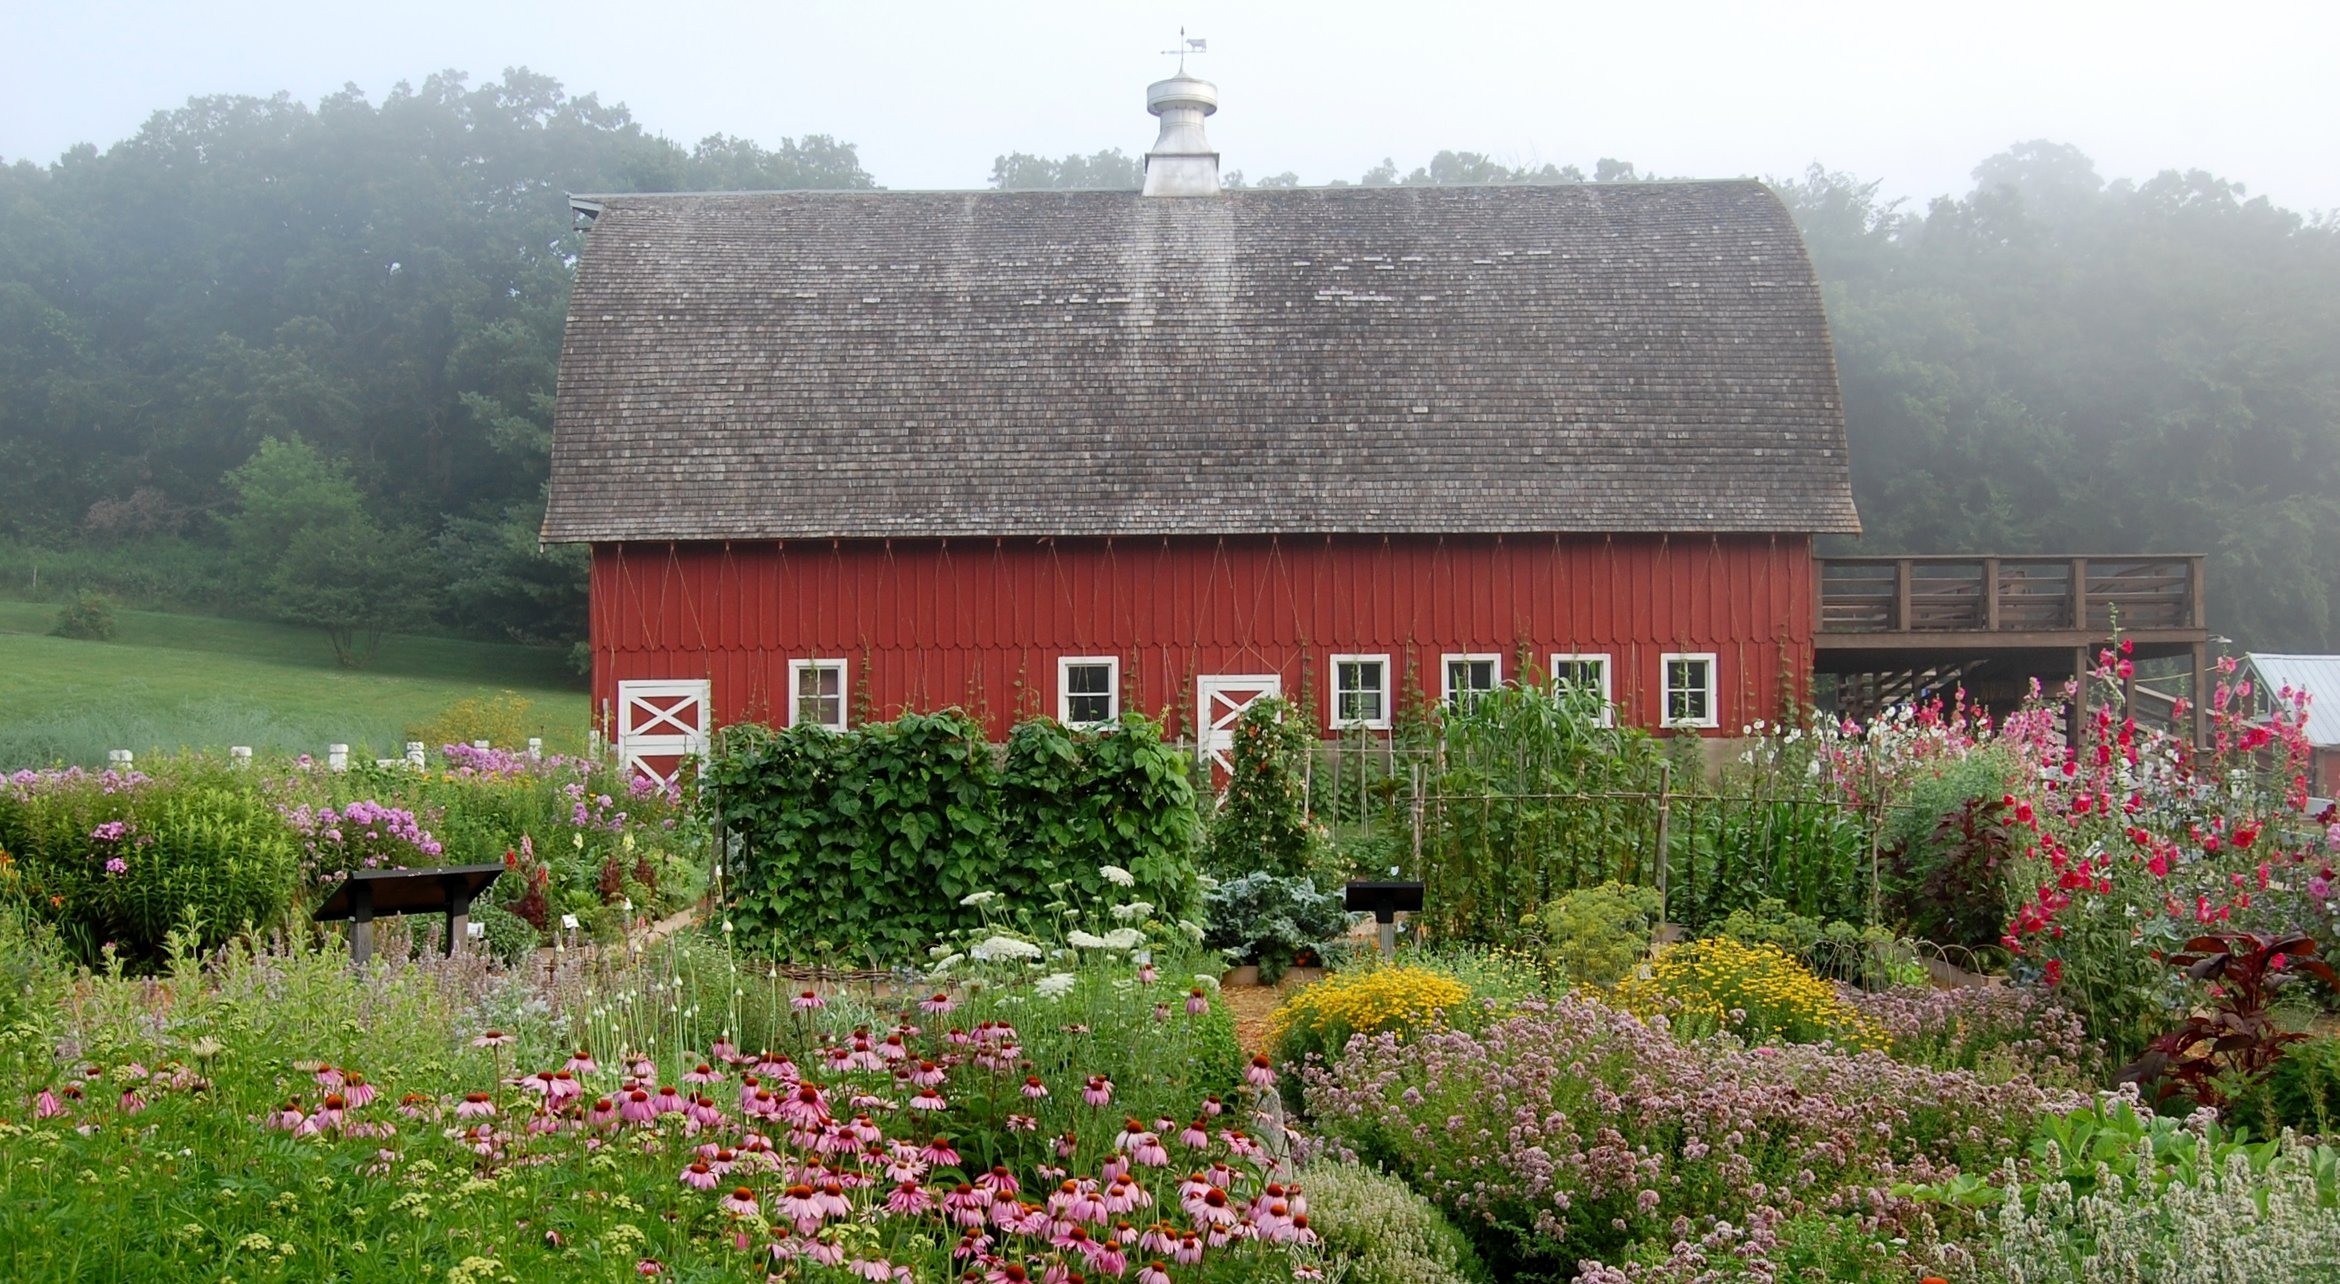
‘Grandpa Ott’s’ morning glories cover the south face of the iconic barn behind the Lillian Goldman Visitors Center at Seed Savers Exchange. But don’t be fooled by the scenery, this barn is much more than pretty postcard scenery—especially come harvest time!

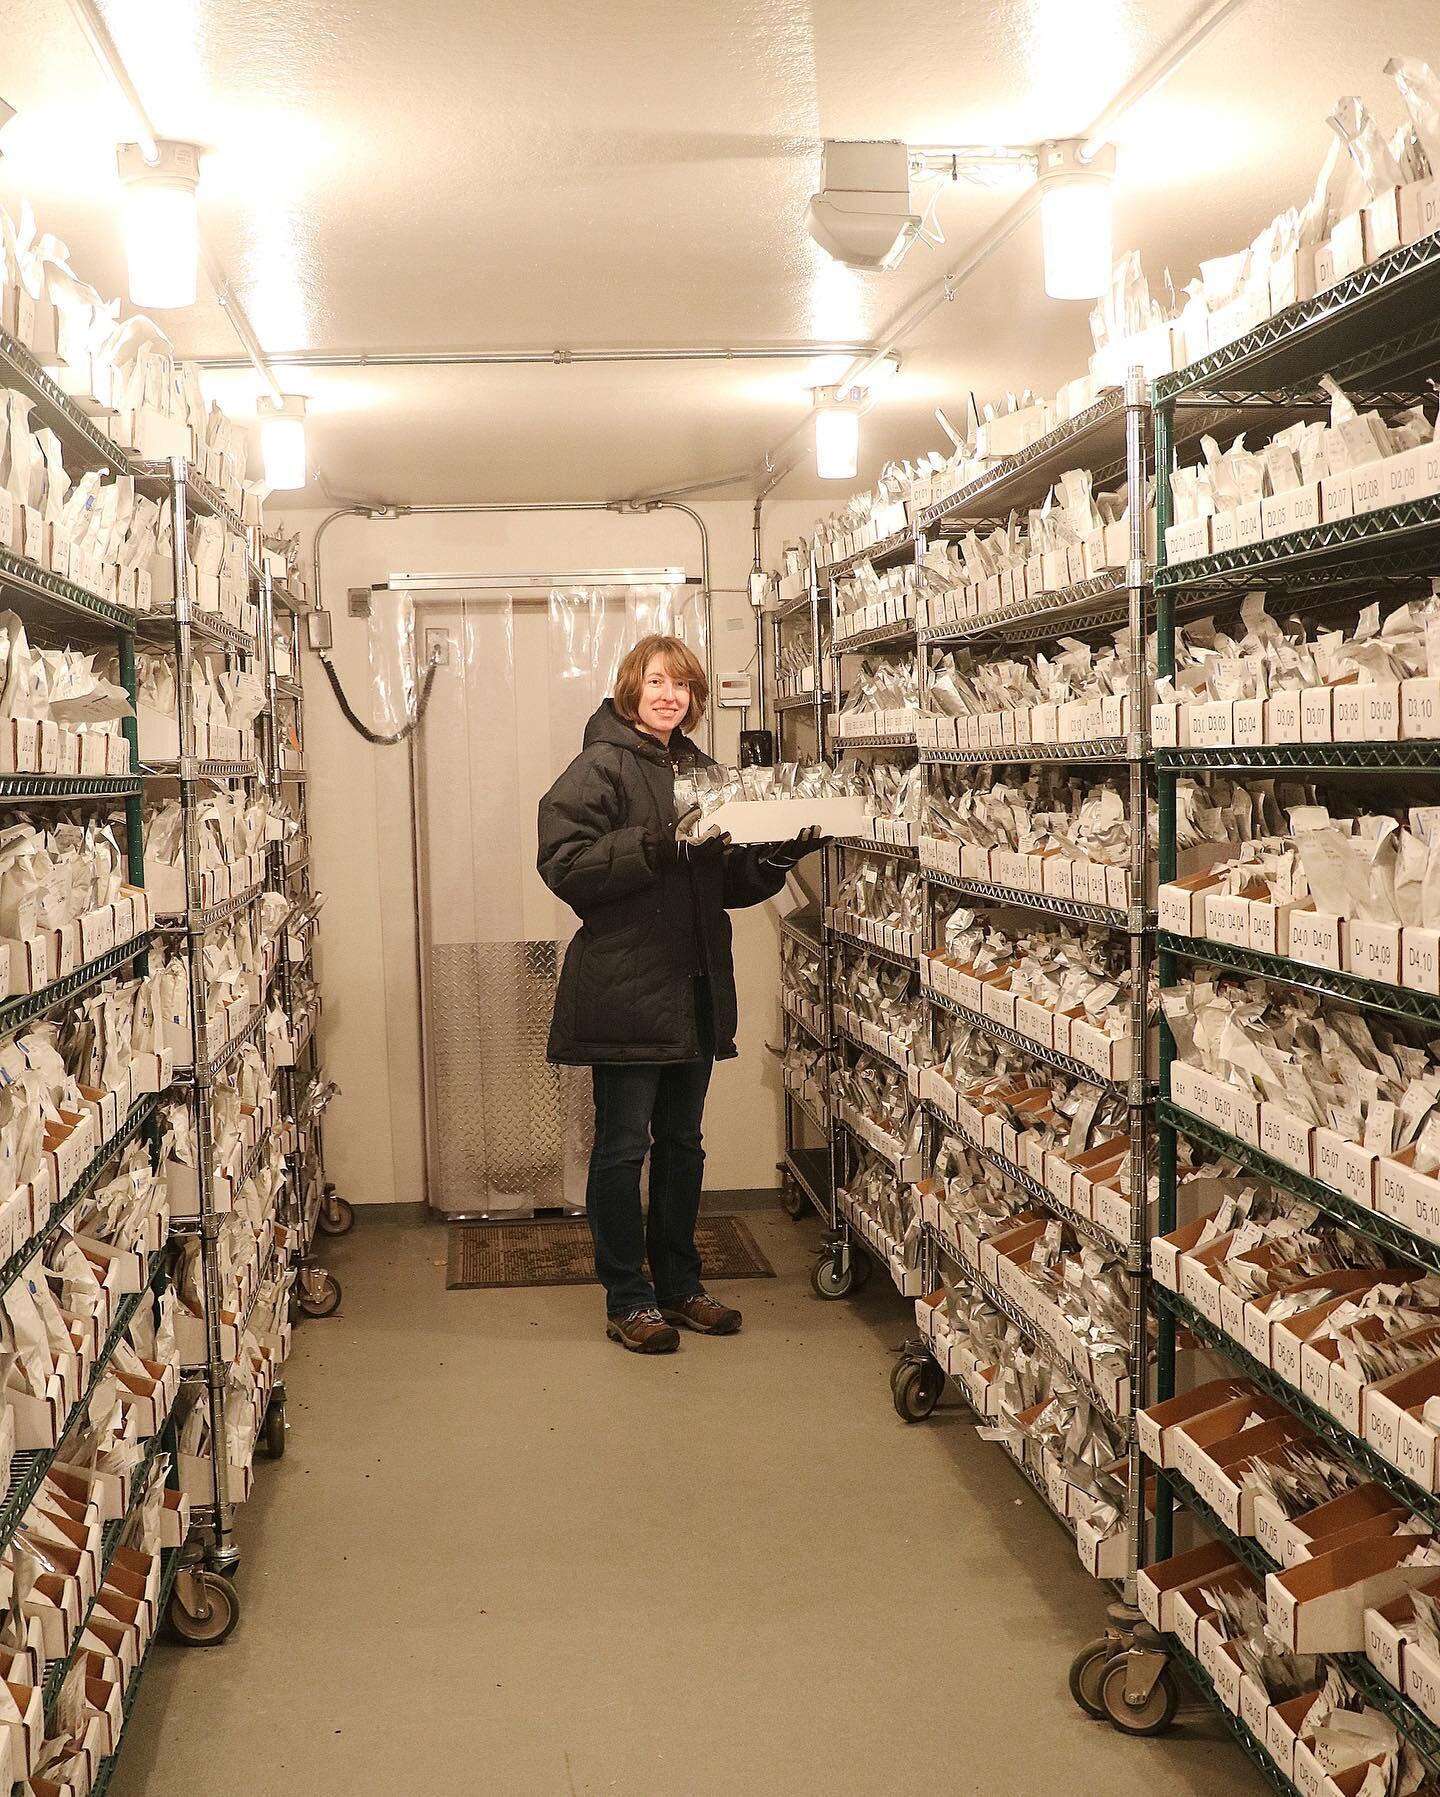
Behind that wall of sleepy morning glories lies one of the busiest seed saving operations in the country—the first hint of which is the unmistakable sweet aroma of ripe melons drifting from the open double doors. Colorful piles of ripe fruits and veggies sit waiting in buckets while fans blow gently over screens of tiny seeds on drying racks. The colors, smells and sounds are almost as overwhelming as the neatly printed to-do list on the staff white board.

But of course it hasn’t always been like this. SSE’s seed saving operation started in a kitchen, probably much like your own, more than 36 years ago. That’s where we started and that’s where the seed saving renaissance is taking place today! If you’re reading this blog, it means that you’re part of this movement—or at least you could be. You can start saving your own seeds yet this season—today in fact!

Getting Started 
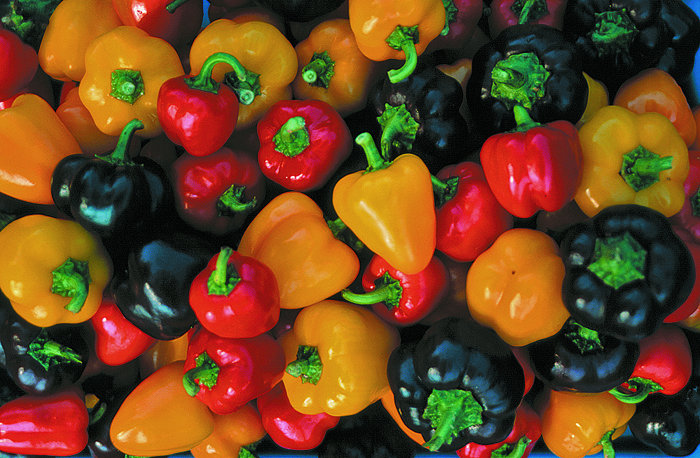
You don’t need any special tools or equipment to start saving pepper seed. Saving pepper seeds also gives us a chance to review some essential seed saving info on pollination.

Unlike hybrids seeds, seeds from open-pollinated and non-hybrid plants can be saved and replanted to produce plants that retain most of the characteristics of the parent. This means that if you’re growing some heirloom peppers from SSE, you don’t have to buy the same seeds from us next year. In fact, if you learn how to prevent cross-pollination and save the seed properly, you’ll never have to buy that seed again. But let’s not get too ahead of ourselves here!

One thing to know right away is that, while peppers can pollinate themselves, insect pollination is also very common. This means that if you have more than one variety of pepper in your garden— open-pollinated or hybrids—there’s a good chance the seeds you save will be crossed. You can still save the seeds, but the plants will probably be different from the parent.

By using isolating techniques, which we’ll cover in later posts, or only planting one variety of pepper in your garden, you can be more confident that the seeds you save will be true-to-type (i.e. produce the same plant as the parent). Here’s how:

Saving Pepper Seeds 
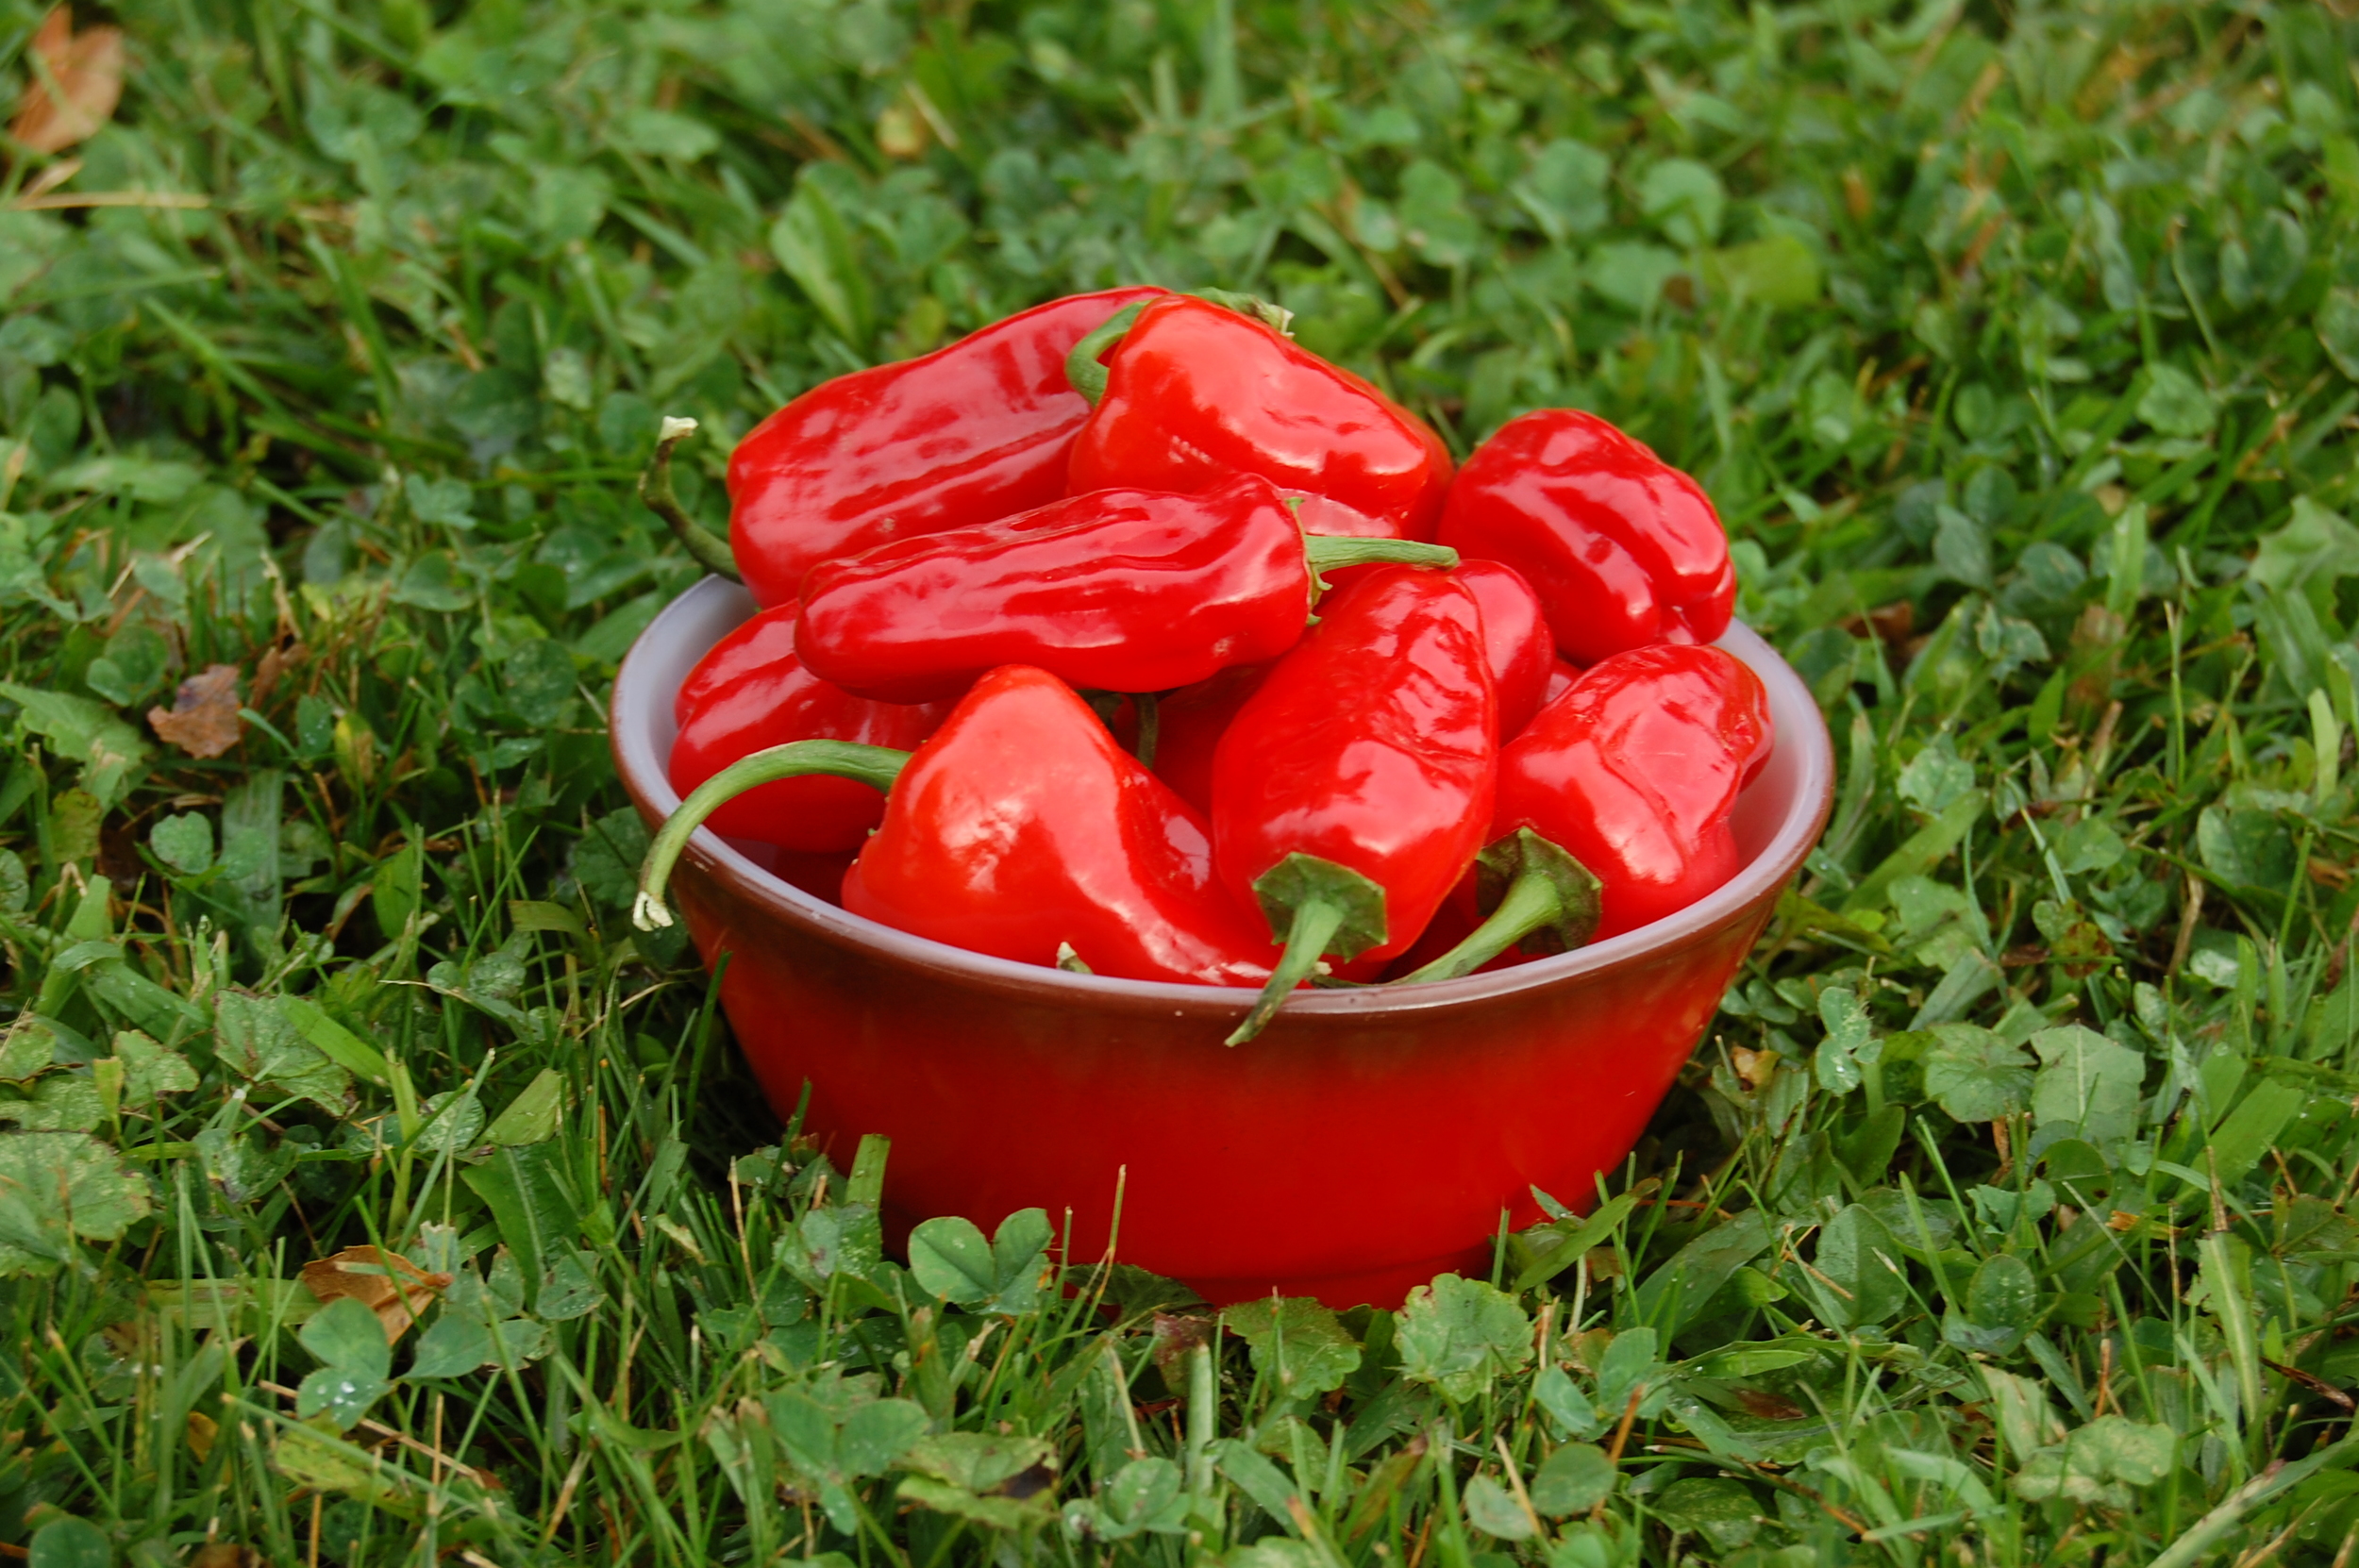
Cut open and remove the core from a fully mature pepper. You’ll know it’s mature because it has changed to its final color. To find out what color your peppers should be when mature, see the description on its seed packet or on our website. Rub the seeds onto a paper plate and set them out to dry away from direct sunlight until they are paper-dry.

If you’re handling hot peppers, you’ll want to use rubber gloves. Also, make sure you’re in a well-ventilated room to avoid respiratory problems.

If you’re trying to save seeds from very small peppers, try using a blender. Cut out the stems and blend the peppers with a little water at low speeds. The flesh and immature seeds will float to the surface and can be removed. Add a little more water and repeat until the seeds are clean. Drain the remaining mixture with a strainer before setting them out to dry (coffee filters work well).

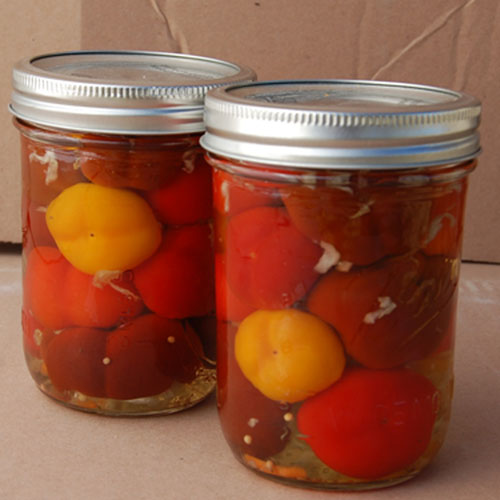
Put the dry seeds in a paper envelope labeled with the seed variety and the year, and store in a cool, dry, mouse-proof area. This will help ensure that your seeds dry properly and stay that way. If you’re confident that your seeds are totally dry but not confident that you can keep them that way (i.e. your storage area might experience increased humidity in the summer months), you might consider storing the envelope in a mason jar. Adding silica gel to the jar will help take care of extra moisture that would otherwise rot your seeds.

You’ll know you did everything right when you’re harvesting a beautiful pepper of the same variety next season. And if you get something different, you’ll still learn a lot in the process. Like any adventure, the hardest part is simply getting started!

Give seed saving a try this season with peppers or tomatoes and let us know how it goes by leaving a comment below. You can also find more seed saving tips on the SSE forum.

Thanks to SSE staff member Colin Curwen-McAdams, advisor Suzanne Ashworth, and board members David Cavagnaro and Rosalind Creasy for their contributions to this article.